A cushion comes back from washing, or from a car boot, and it looks almost symmetrical. Before it goes under someone again, you need to know which edge is the front, which is the back, and which face sits upward. Wheelchair cushion front back orientation is not something you can settle by eye on most products; the cushion's own label and model instructions are the starting point.
Orientation is model-specific. Check the cushion's own label and manual rather than assuming a shape, seam, or strap tells you the front, back, and top. If the model or label cannot be identified, confirm with the supplier before the cushion is used again.
Wheelchair cushion front back orientation: Identify the cushion and cover
The first task after cleaning is not to guess the direction but to establish what you are holding. Write down the cushion model, the cover model if it is marked separately, and any serial or batch reference printed on either part. This record matters because a core and its cover can be separated during washing and returned to the chair in different orientations, and because two cushions that look alike from above may have different instructions. Keeping the record with the chair, or photographing the labels before cleaning, gives you something to compare against later.
A useful habit is to treat the record as part of the cleaning routine rather than an extra job. If the cushion is washed on a schedule, or swapped between chairs in a care setting, the note also shows which cushion belongs to which chair and when it was last checked. That matters when several similar cushions are in use in the same building, because a label photographed on one cushion does not identify another. Where a cushion has been in service for a long time, the label may be the only surviving record of its model, so capturing it before washing is more reliable than trying to read a damp or curled tag afterwards.
The core and cover
Treat the inner cushion and the outer cover as two items that each need checking. Sunrise Medical's page on positioning a wheelchair cushion notes that the inner core and the cover can end up facing the wrong way. That is a useful warning about a real handling step: the cover may be removable, washable, and easy to put back inside out or back-to-front, while the core underneath has its own intended upper face. Neither part should be assumed correct because the other looks right. Check each one against its own marking, and note whether the cover has a separate tag, opening, or fastening that indicates how it should sit.
It also helps to note the order in which the two parts came apart. If the cover was removed first and the core lifted out afterwards, reversing that order when reassembling gives a natural check point: core first, then cover, each verified against its own marking. Where the cover has an opening for a valve, a handle, or a fastening strap, that opening is a positional clue the manufacturer intended, but it still needs to be read against the instructions rather than treated as self-explanatory.
Find model information
Model information is usually printed on a label sewn to the cover, on a tag attached to the core, or in the paperwork supplied with the cushion. If the label is faded, photograph what remains and check the chair's own records. A model name is what lets you look up the correct manual; a generic description such as "foam cushion" is not enough to decide orientation. Where the cushion came with the chair as part of a seating configuration, the seating team's records may hold the model reference. Record what you find before cleaning or storage, because labels are easier to read and photograph while the cushion is dry and in good light.
| What to record | Where to look | Why it matters |
|---|---|---|
| Cushion model name or number | Cover label, core tag, supplied paperwork | Identifies which manual's orientation instructions apply |
| Cover model or size marking | Inside the cover, on a sewn tag | Confirms the cover belongs with this core |
| Serial or batch reference, if printed | Label or tag | Helps a supplier identify the exact version |
| Photo of all labels | Taken before cleaning | Preserves information if ink fades or a tag loosens |
| Date and reason for removal | Your own service note | Shows when the check was done and why |
This is a record-keeping step, not a diagnosis of the cushion's condition. If a label is missing entirely, the table still helps: you can note that the model is unknown and that orientation must be confirmed before use.
Find the actual orientation marks
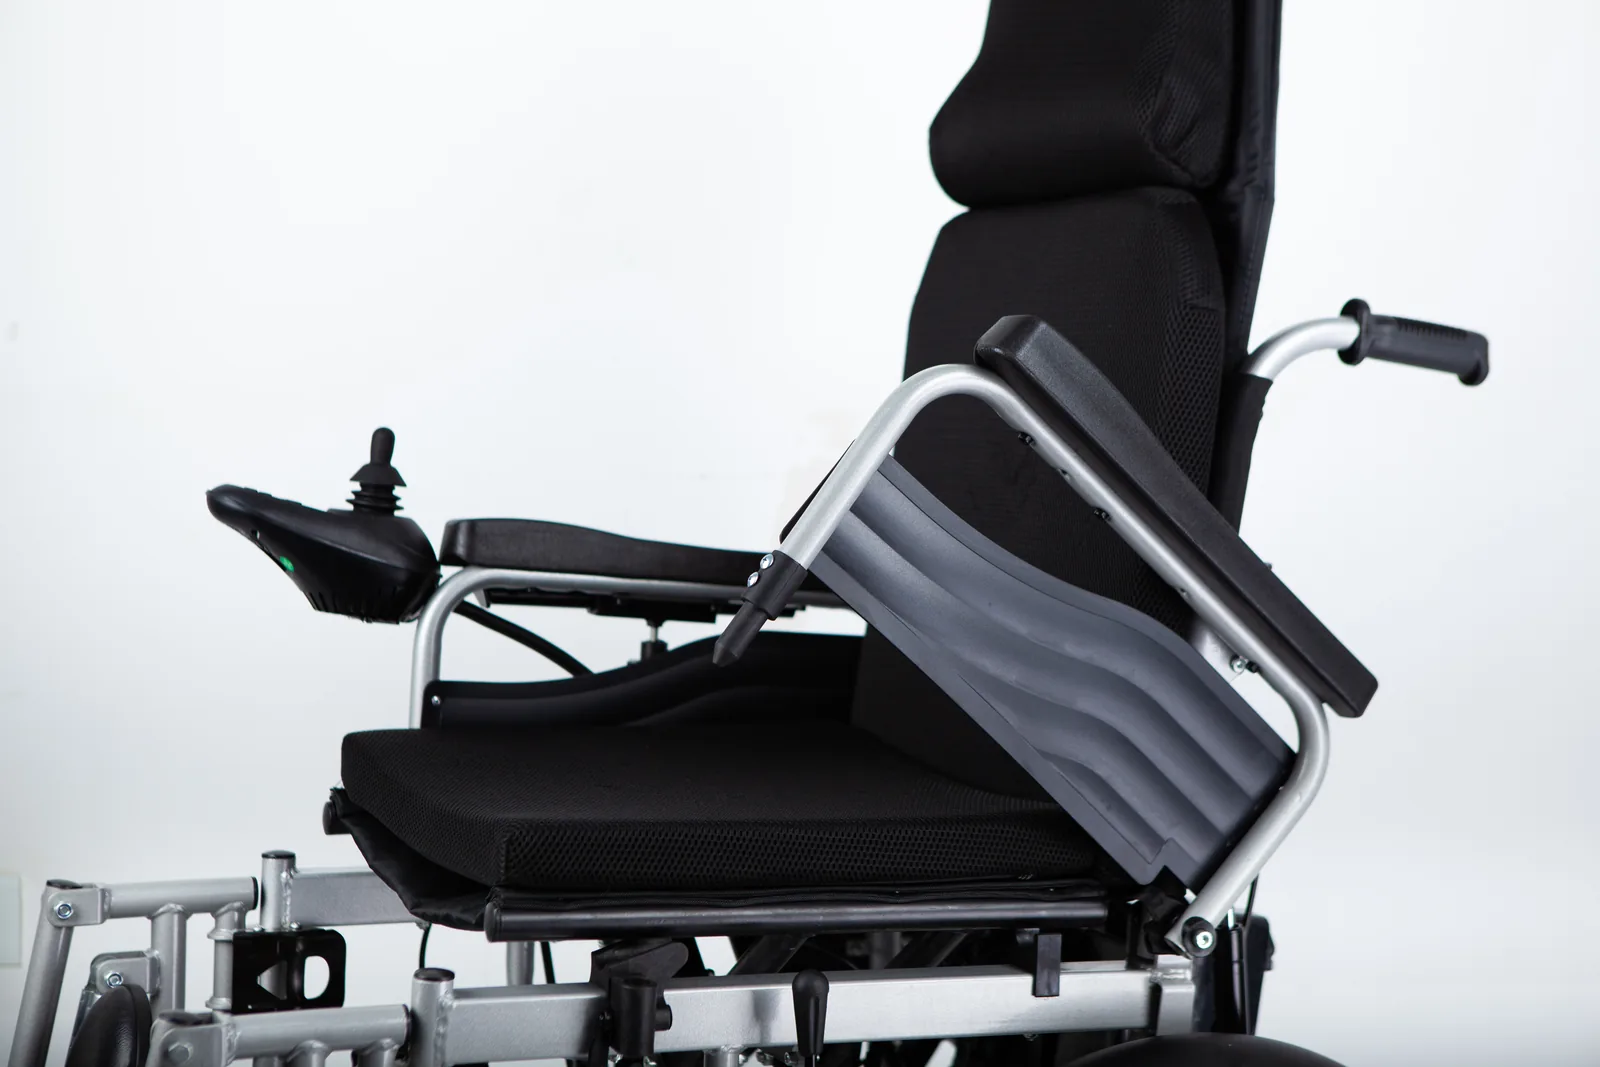
Once the model is known, look for the marks the manufacturer actually put on the product. Orientation markings vary between products, so the only reliable approach is to read the label on the cushion in front of you and, where available, the manual for that model. The WHO assistive technology user material reviewed for this article asks users to check the front, back, and up/down orientation of a cushion, which confirms that this is a routine handling task rather than an unusual one. It does not, however, prescribe a universal marking system.
That distinction is worth holding onto while you search. A general instruction to check orientation tells you the check matters; it does not tell you where the mark is on your cushion. The mark itself, and its meaning, come from the product documentation. If you find a mark but cannot tell what it refers to, the manual is the place to resolve it, and the supplier is the fallback when the manual is unavailable. Guessing from the mark's position alone risks treating a manufacturing detail as an instruction.
Front and back marks
Front and back markings can take several forms. A label may carry the words "front" and "back," an arrow, or a shaped tab that aligns with a particular edge of the chair. Pride Mobility's Stealth cushion installation and care instructions, for example, show a "Back Button" label as part of that product's orientation scheme. That is a specific feature of a named product line, not a rule for cushions generally. A different cushion may use a coloured edge, a seam position, a strap, or a contoured shape to indicate the rear. Read the instruction that belongs to your model and match it to the physical feature it describes.
When a mark names a button, a tab, or a word, the manual usually explains what it should line up with, such as the rear of the seat or a particular edge of the chair. That alignment step is the part most easily skipped after cleaning, because the cushion can look correctly placed while the label points the wrong way. Check the alignment against the chair, not just against the cushion's own shape, and note in your record which feature you used. If the chair has been reconfigured or the cushion moved to a different chair, re-check the alignment rather than assuming the previous position still applies.
Top and bottom marks
The upper and lower faces matter as much as the front and back. Some cushions have a distinct top surface, and turning the core over can change what the user sits on. The Unicare instruction and safety manual reviewed for this article describes labels and orientation for its own product; its wording applies to that product, and this article does not repeat its measurement values. When you check the top face, look for a label, a textured side, a valve or inflation point, or a shaped profile that the manual identifies. If the manual says a particular face goes upward, treat that as the instruction for that model and check it before the cushion goes back on the chair.
| Marking type | What it may look like | What to do |
|---|---|---|
| Word label | "Front," "Back," or similar text on a tag | Match the word to the edge or face the manual describes |
| Button or tab label | A shaped label such as the Stealth "Back Button" | Follow that product's instructions for aligning it |
| Arrow or symbol | A printed directional mark | Check the manual's explanation of what the arrow points toward |
| Surface difference | Texture, contour, valve, or seam on one face | Confirm with the manual which face is intended upward |
| No visible mark | Faded, missing, or never present | Stop and confirm with the supplier before use |
These examples come from named products and should not be combined into a general rule. A marking that is clear on one cushion may be absent on another, and a feature that looks directional may be structural rather than instructional.
Place it as the model instructs
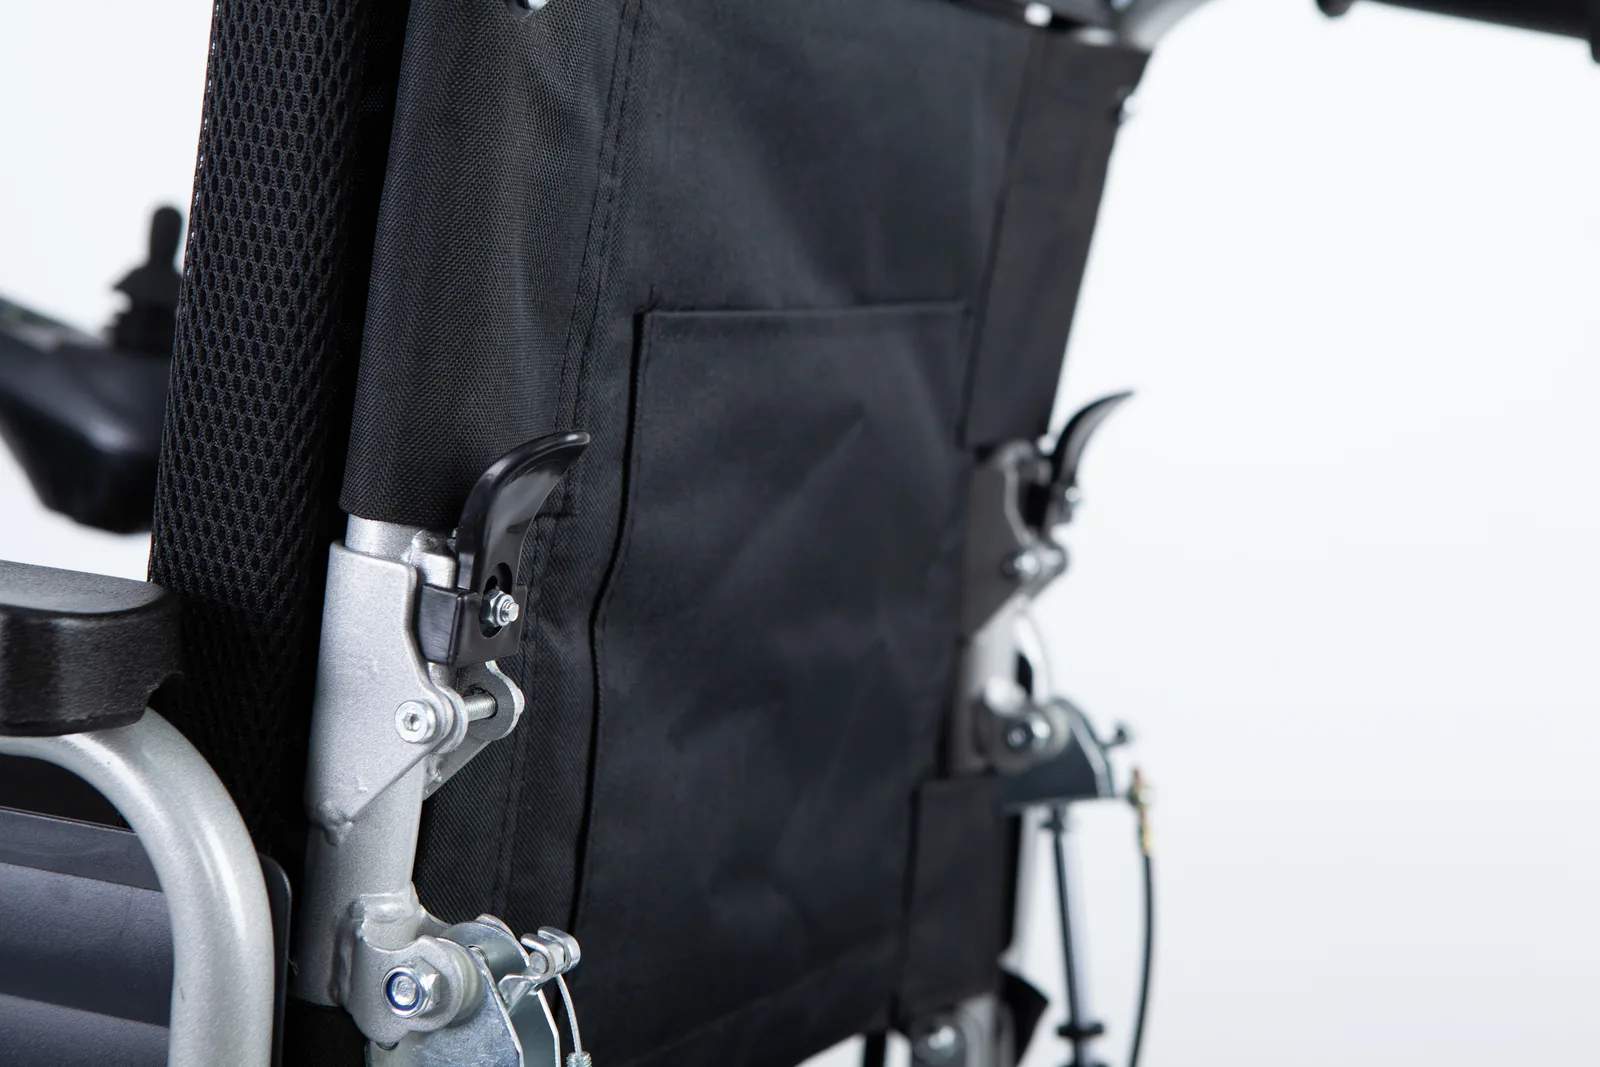
With the model identified and the marks located, the next step is to follow the instructions for that cushion. The WHO user material supports checking front, back, and up/down orientation as part of correct cushion use. Sunrise Medical's guidance on positioning a wheelchair cushion addresses the same handling concern. Neither source replaces the manufacturer's instructions for a specific product, and this article does not reproduce fitting steps that a manual has not supplied. Where the manual gives a sequence, follow it; where it does not, ask the supplier rather than improvising.
A practical way to work is to read the whole instruction once before starting, then carry out the steps in the order given. Reading first avoids the common pattern of placing the cushion, noticing a mark, lifting it again, and losing track of which face is which. If the manual describes more than one configuration, such as a cushion that can be used with or without its cover, identify which configuration applies before you begin. Record the configuration you used, so the next person to clean the cushion knows what to restore.
The seating surface
Before the cushion goes back, check that the seating surface underneath is clear and that the cushion sits where the chair's own design intends. Orientation is about which way the cushion faces, not about how well it suits the person using it. A cushion placed the right way round can still be the wrong cushion, the wrong size, or in poor condition. Keep the orientation check separate from any judgement about comfort, pressure, or posture, and record only what you can actually observe: the model, the marks found, and the direction the cushion now faces.
That separation is useful in practice because it keeps the handling task finishable. A caregiver or a maintenance team can confirm that the label faces the rear and the intended surface faces up without needing to assess the user. If something about the cushion's condition or fit looks wrong during the check, the observation can be passed on to the people responsible for seating without being turned into a conclusion at the chair side.
When the label is absent
If no label can be found, or the marking is too faded to read, do not choose a direction by appearance alone. A symmetrical foam block or a cover without a tag gives you nothing reliable to work from. In that situation, pause and contact the supplier or the seating team that provided the cushion, quoting any model or batch information you do have. If the cushion was supplied as part of a chair, the chair's documentation may identify it. Until the orientation is confirmed, note the uncertainty rather than treating a guess as a check. This is also the point to ask whether a replacement label or a copy of the manual can be provided.
Keep fitting separate from orientation

Getting the cushion the right way round is a handling task. Deciding whether that cushion is appropriate for a particular person is a separate question that belongs with a qualified seating professional. Orientation instructions tell you which face is intended upward and which edge is intended at the back; they do not tell you whether the cushion provides the support an individual needs, whether it suits their skin and posture, or whether it should be adjusted. Keeping these two questions apart prevents a correct orientation check from being mistaken for a seating review.
This matters for record keeping as well. A note that says "cushion refitted, label at rear" describes a completed handling step. It should not be read later as evidence that the seating configuration was reviewed or approved. Where the same cushion is checked regularly, keeping orientation notes separate from seating review notes makes both records easier to interpret, and avoids implying that a routine refit replaced a proper assessment.
Cover fit
A cover that is the wrong size, inside out, or incorrectly fastened can change how the cushion sits even when the core is correctly oriented. Check that the cover belongs with this cushion, that any opening or fastening is where the manufacturer intends, and that the cover is not bunched or twisted underneath. Sunrise Medical's guidance notes that core and cover can each be misplaced, so check them as two separate items. If the cover does not appear to fit the core, stop and confirm the pairing before use rather than forcing it into place.
A cover that has to be stretched hard, or that leaves part of the core exposed, is worth querying rather than accepting. The same applies to a cover that has shrunk after washing or whose fastening no longer closes as intended. These are fit questions about the cover itself, and the manufacturer or supplier can say whether the cover is the correct one for the core and how it should be cared for.
Who to consult
Bring orientation questions to the supplier or manufacturer when the label or manual is missing. Bring seating, comfort, posture, and skin-related questions to the seating team or clinician responsible for the person's equipment. Bring cleaning questions that the care instructions do not answer back to the manufacturer. Each of these is a different decision with a different responsible party, and a single person may not cover all three. Writing the question down before making contact, with the model reference and a photo of the label, makes the answer easier to give.
FAQ
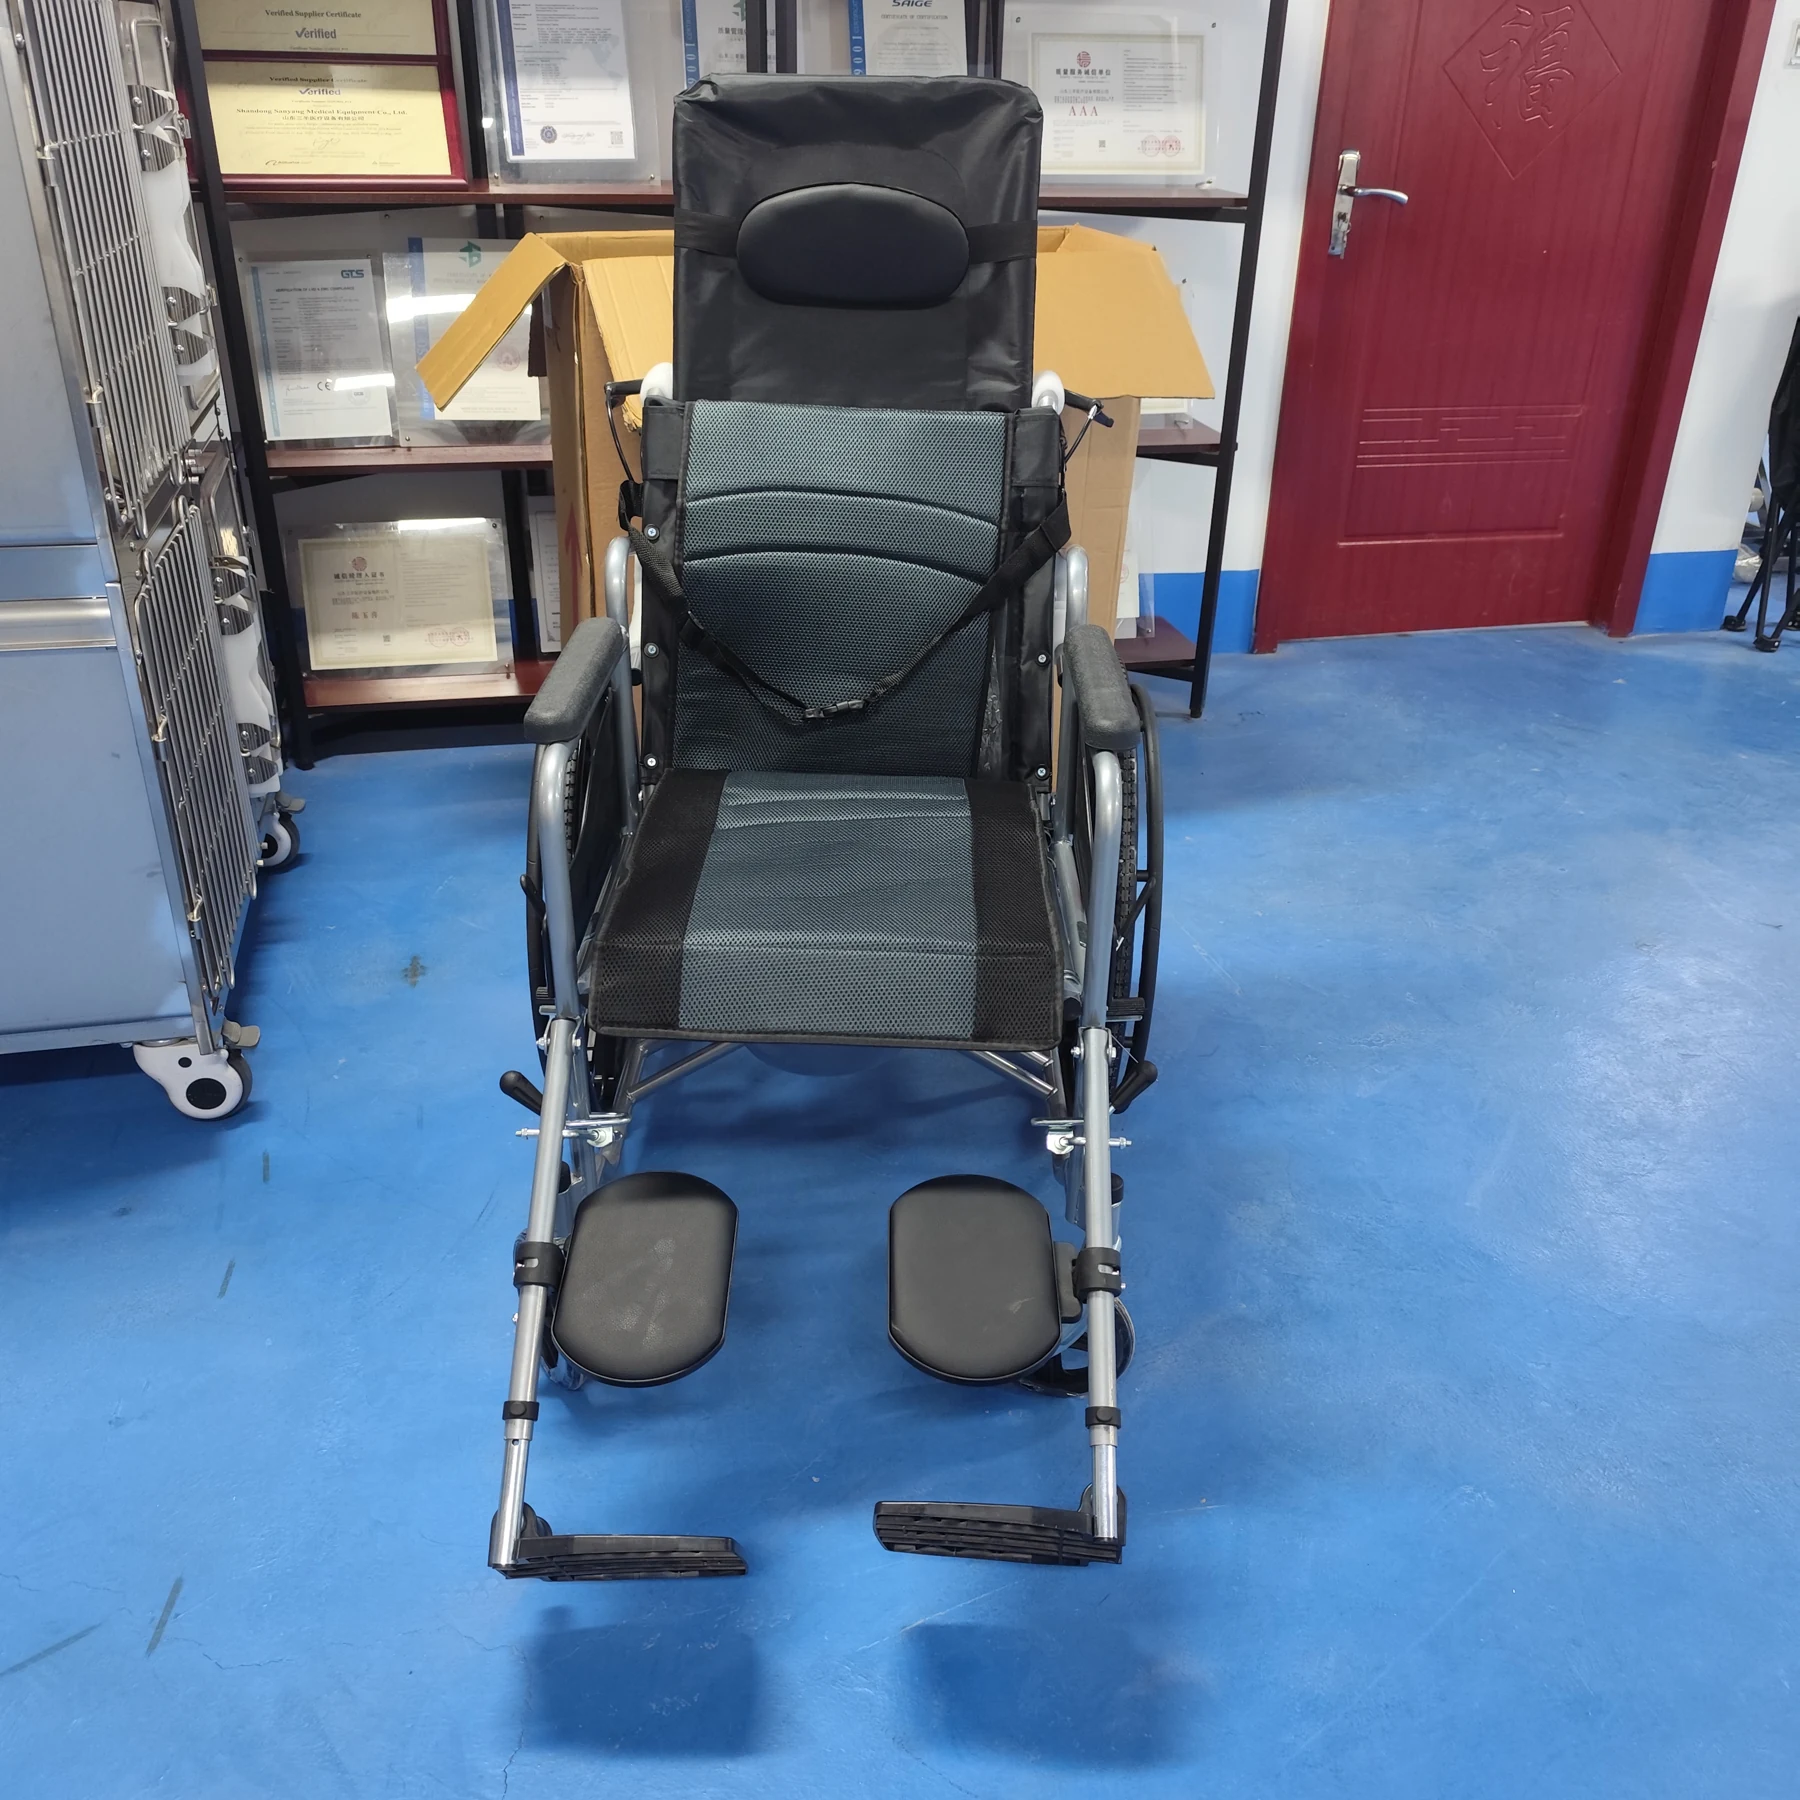
Are all cushion labels in the same place? No. Labels appear on covers, on cores, and in supplied paperwork, and the named manuals reviewed here each describe their own arrangement. Check the cushion in front of you and its model instructions rather than looking in a fixed spot.
Can the cover and core face different ways? Yes, they can be placed inconsistently, which is why Sunrise Medical's guidance treats them as separate items to check. Confirm each part against its own marking before the cushion is used again.
What if the model or label cannot be identified? Pause and contact the supplier or seating team with any reference you have. Do not choose a direction from appearance alone, and note the uncertainty in the chair's records until it is resolved.
Conclusion
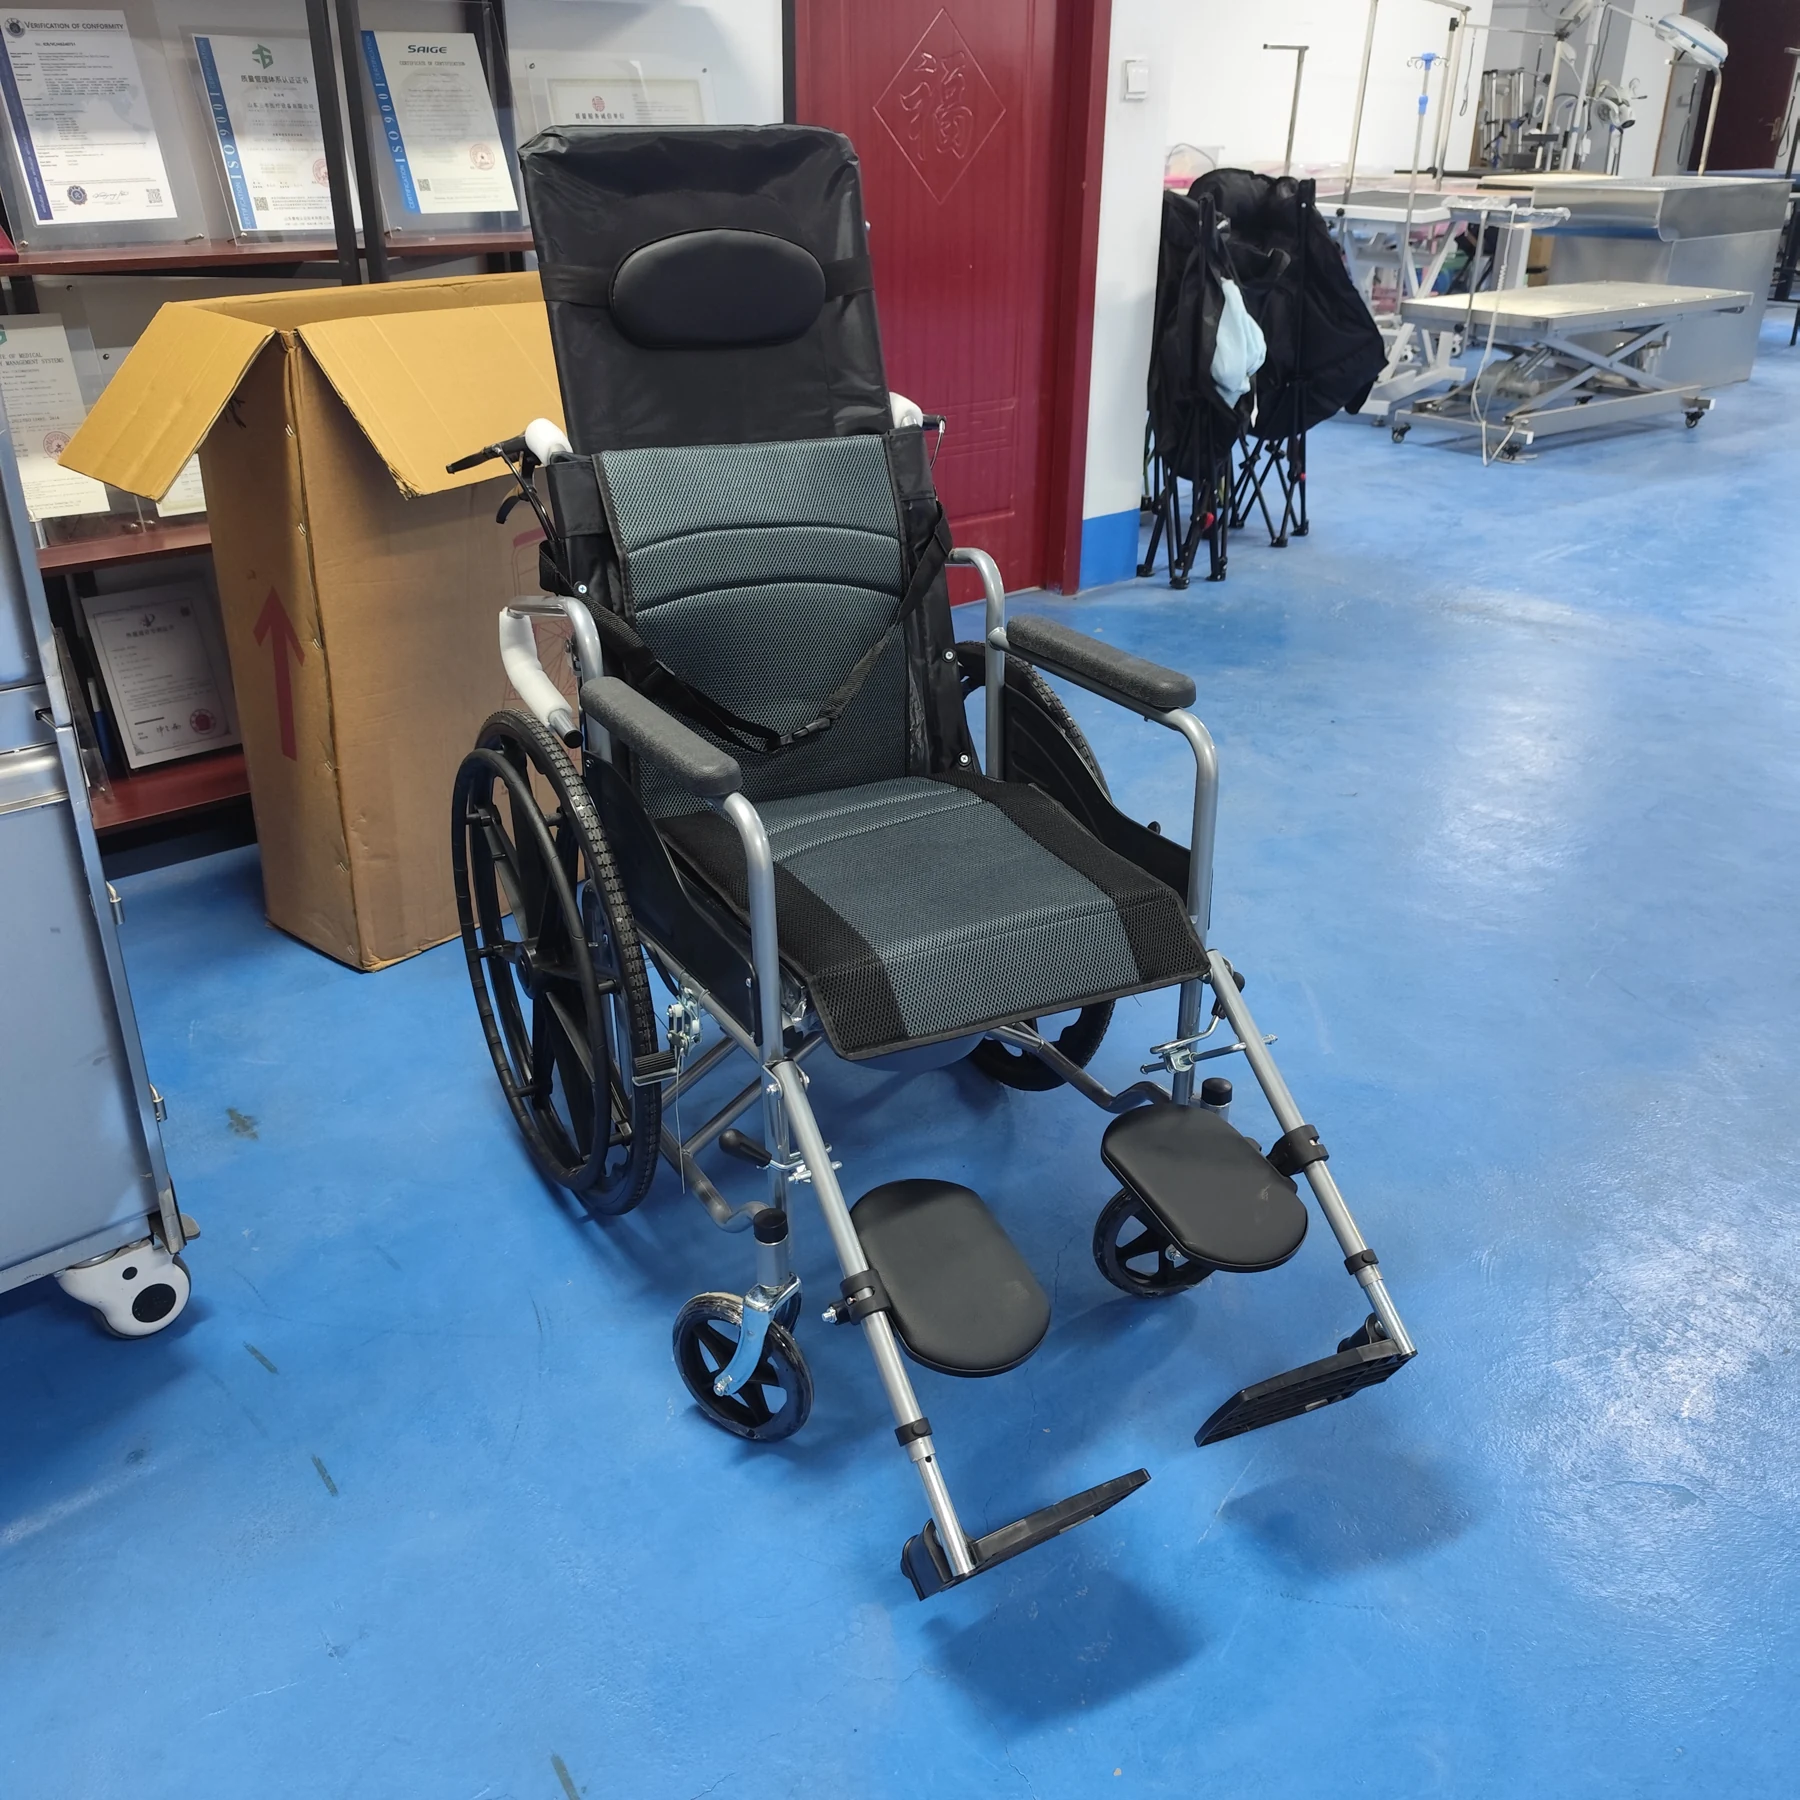
Check the model, find its own orientation marks, and ask the supplier when the label is missing. Orientation is not a seating assessment.
For related reading, see when a wheelchair cushion is worn out and air versus foam cushion comparisons.